Tech · · 4 min read · Part 2 of 3
Ansible Dev Server using VS Code Dev Containers
A consistent Ansible development environment for the whole team, defined once in a file
Every Ansible team eventually loses an afternoon to version drift: one person’s ansible-lint flags what another’s
doesn’t, or a playbook works on one laptop and fails on the next. A dev container fixes that by giving everyone the
same environment, defined once in a file and rebuilt identically on every machine.
What is a dev container?
A dev container is a preconfigured, isolated development environment that runs inside a container, with all the
tools, libraries and dependencies a project needs. Instead of setting up each machine by hand, you describe the
environment once, in a devcontainer.json file, and anyone on the team can start an identical one.
In VS Code, the Dev Containers extension does the work.
When you open a folder that contains a devcontainer.json file, VS Code builds or pulls the container, then attaches
the editor to it. Your terminal, your extensions and your tools all run inside.
For Ansible, that means the Ansible Development Tools (ADT) come preinstalled:
ansible-core,ansible-builder,ansible-creator,ansible-dev-environment;ansible-lint,ansible-navigator,ansible-sign;molecule,pytest-ansible,tox-ansible.
The team can start writing, linting, testing and running playbooks straight away.
Why use it
- Everything runs on your workstation. No remote server to set up or pay for.
- The complete toolkit, at the same versions for everyone.
- The full Ansible extension, including execution environments and Red Hat Ansible Lightspeed.
What you need in return:
- Podman or Docker, plus WSL if you’re on Windows;
- access to
registry.redhat.io, for Red Hat’s container image; - access to your private automation hub, if you use custom execution environments.
Prerequisites
- Podman, Podman Desktop, Docker or Docker Desktop.
- A Red Hat login, and logged in to the Red Hat registry (
registry.redhat.io). Also log in to your private automation hub, if you use one. - VS Code, with:
- the Ansible extension;
- Microsoft’s Dev Containers extension.
- On Windows: launch VS Code and connect to your WSL machine first.
If you use Podman
Tell the Dev Containers extension to use Podman instead of Docker.
- In VS Code, open the Settings editor.
- Search for
@ext:ms-vscode-remote.remote-containers. Or click the Extensions icon in the activity bar, then the gear icon on the Dev Containers extension. - Set Dev › Containers: Docker Path to
podman. - Set Dev › Containers: Docker Compose Path to
podman-compose.
Prepare Podman. On macOS and Windows, Podman runs containers inside a small virtual machine. Create it once and log in to the registry:
podman machine init
podman machine start
podman login registry.redhat.io
Podman Desktop can do the same from its interface: create a Podman machine, then add the registry.redhat.io registry.
Install the Ansible Development Tools in a dev container
-
In VS Code, open your project folder.
-
Click the Ansible icon in the activity bar to open the Ansible extension.
-
In the Ansible Development Tools section, select Devcontainer.
-
On the Create a devcontainer page, choose the Downstream container image, which is Red Hat’s supported image, then Create. The extension writes
devcontainer.jsonfiles for both Podman and Docker into a.devcontainerfolder in your project.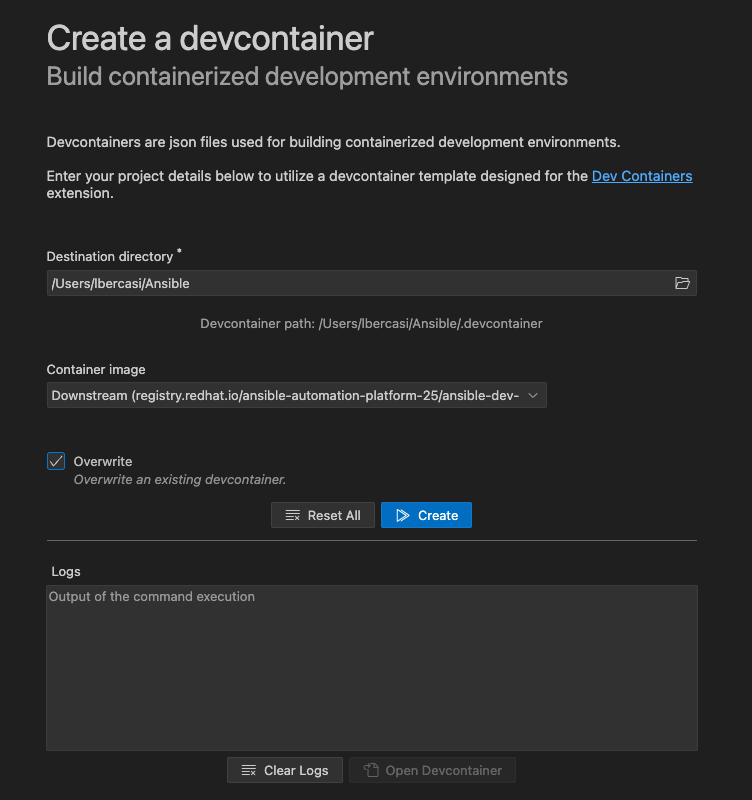
-
Click Open Devcontainer. When VS Code finds the
devcontainer.jsonfile, it offers to Reopen in Container. Click it. If the notification doesn’t appear, click the Remote indicator at the bottom left and choose Reopen in Container.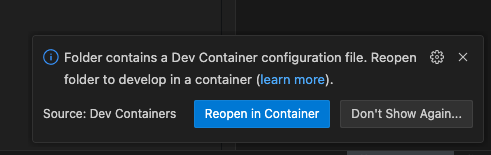
-
Choose the dev container for Podman or for Docker, whichever you use. VS Code reads the configuration and pulls the image; the first time takes a few minutes.
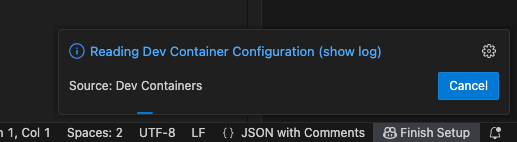
-
Once the folder reopens inside the container, the Remote indicator at the bottom left shows Dev Container: ansible-dev-container-podman (or
-docker).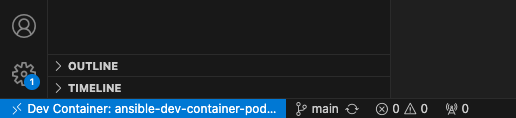
-
You can now develop Ansible content inside the dev container.
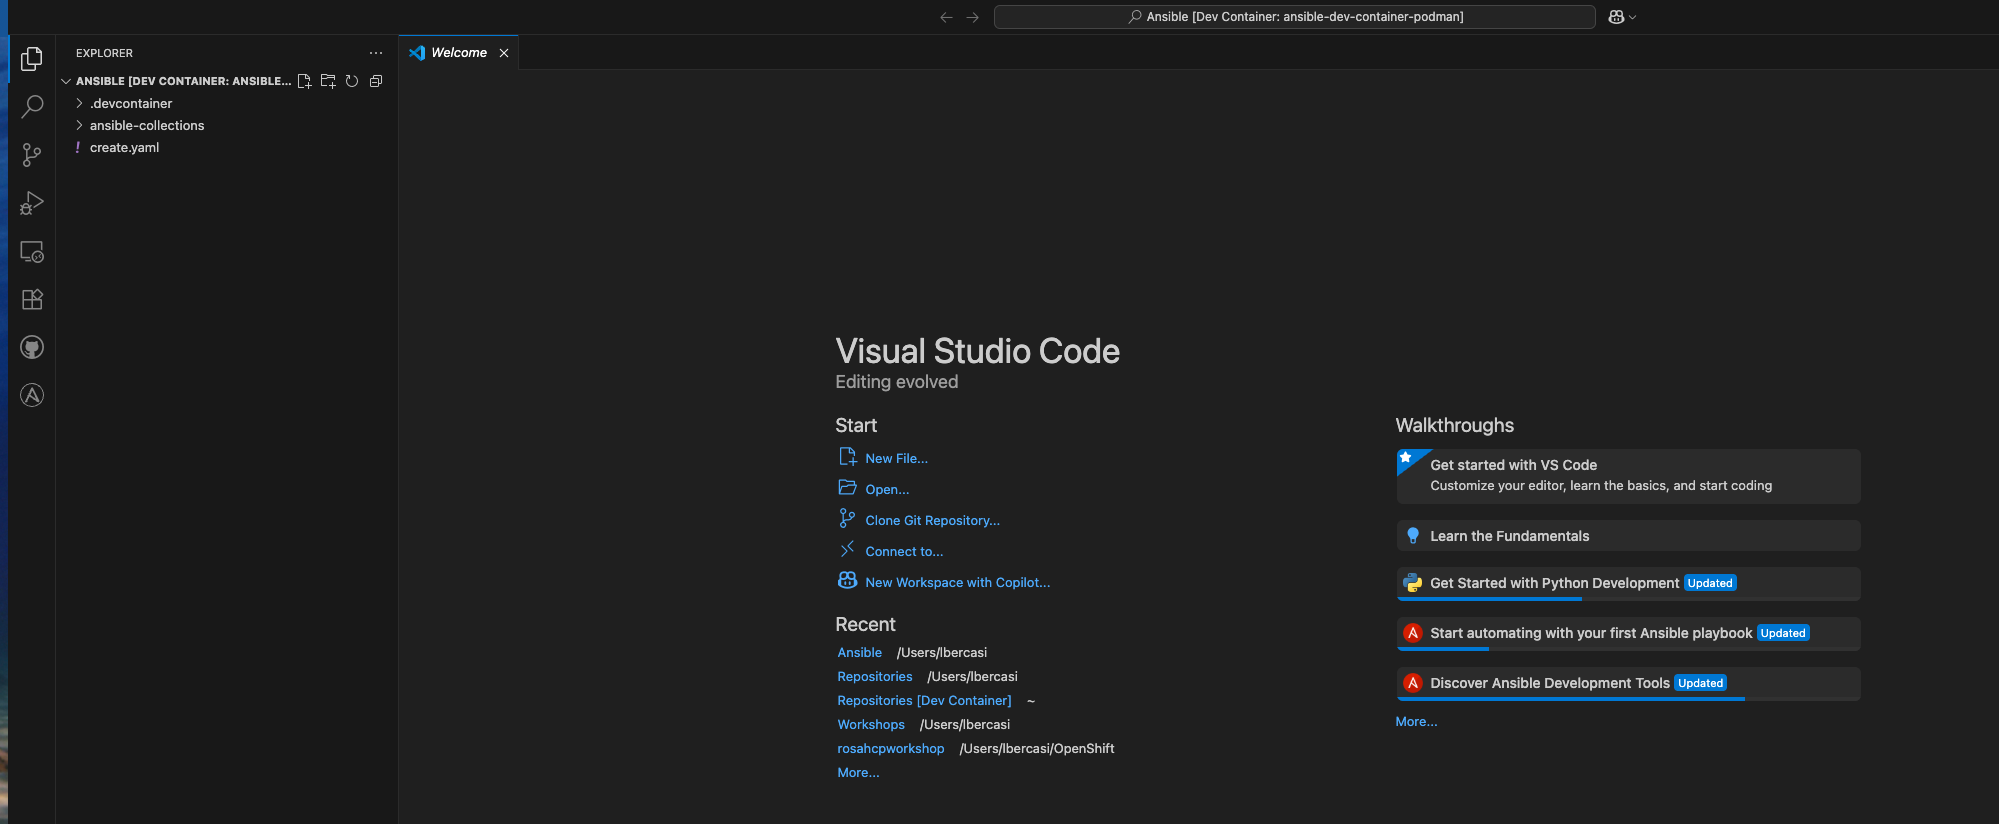
-
Check that the tools and some collections are already installed, from the terminal inside VS Code:
ansible-galaxy collection list
rpm -qa | grep ansible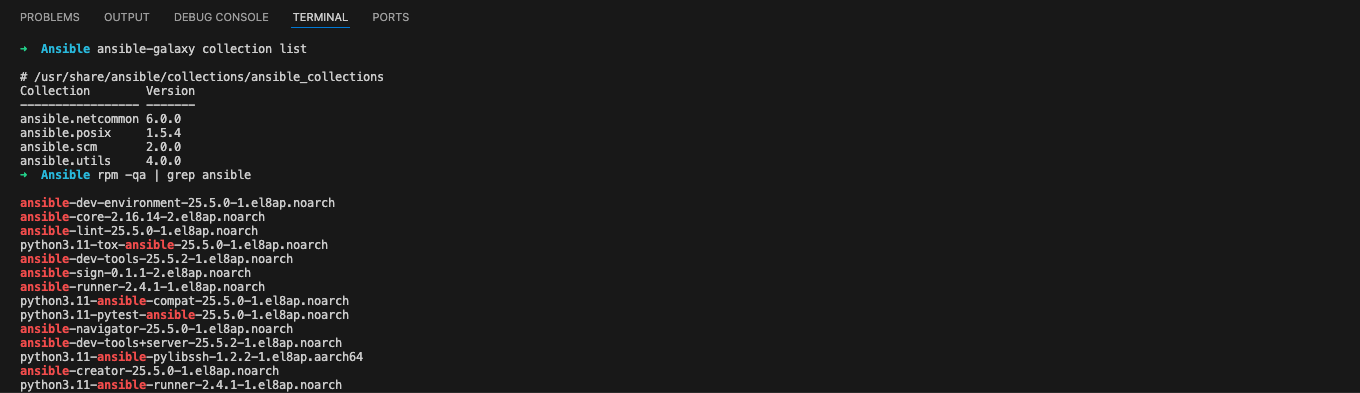
Share it with your team
Commit the .devcontainer folder to your repository. Anyone who clones it and opens it in VS Code gets the same offer
to reopen in a container, with the same tools at the same versions. Update the image once, and the whole team moves
together.
Reference: Installing Ansible development tools on a container inside VS Code, Red Hat Ansible Automation Platform 2.6 documentation.
Note I used AI assistance to draft or edit this post, working from my own notes and experience, and I reviewed every change. The opinions and any mistakes are mine.